- Send the phone off to a 3rd party repair shop (in Texas) to have them replace the screen.
- For about half the price I could order the screen myself and completely disassemble the phone, risking a complete failure.
So, play it safe (ish) or do the whole thing my self? I went the risky route and just got the screen. Going in I gave myself 60/40 odds of pulling this off. The screen came with tools and a PDF copy of the manual for full disassembly. To cut the growing suspense I'll tell you now: it worked. My Tilt is running again and that night I ordered a hard case with a screen cover. Aircraft aluminium. Not taking any chances.
So while the whole repair was going on I took some pictures so here they are. Click on any of them for larger versions and notes to point out what's what.
If you somehow stubled here looking for help on replacing the screen on your Tilt I hope these help. Feel free to leave a comment asking for help and I'll fill you in on the tricker points of the operation.
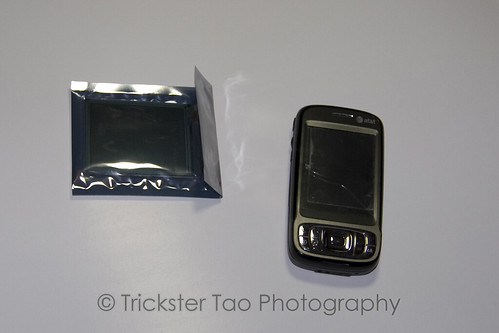
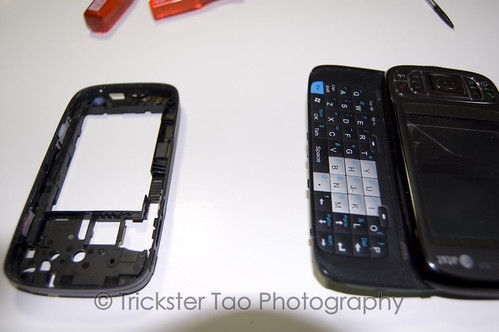
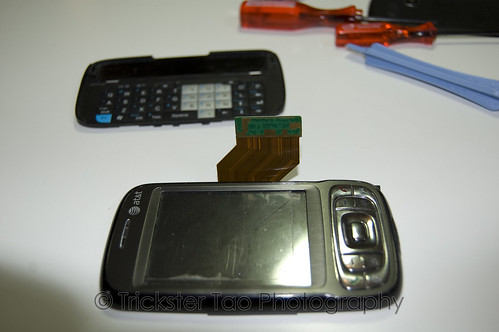
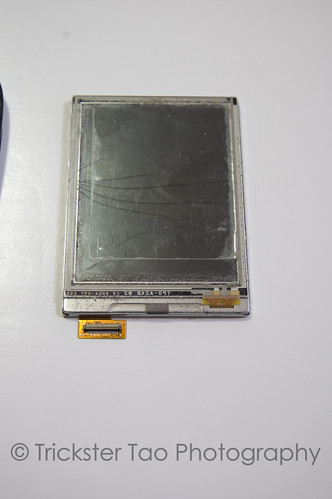
New screen on left. Broken Tilt on right.
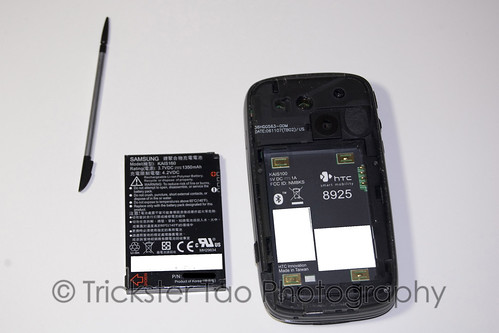
Take out the battery and stylus.
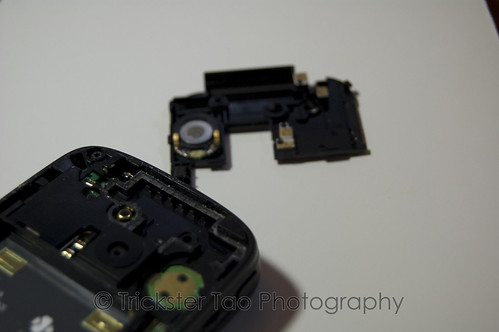
Remove the speaker.
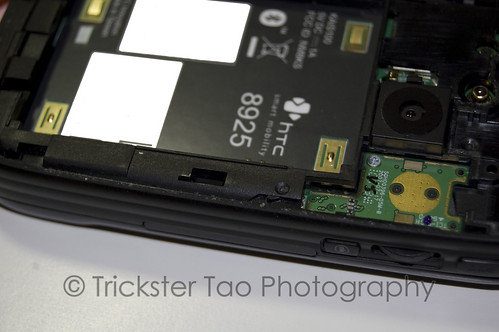
See that green printed circuit board? That's gonna come off next.
Then the whole plastic back.
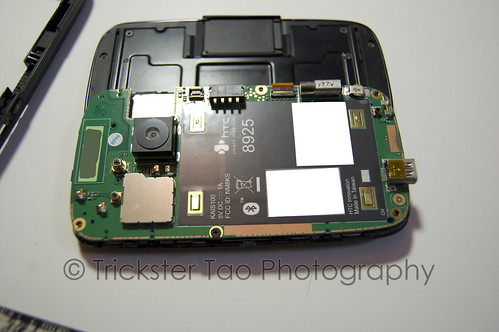
That's the main PCB.
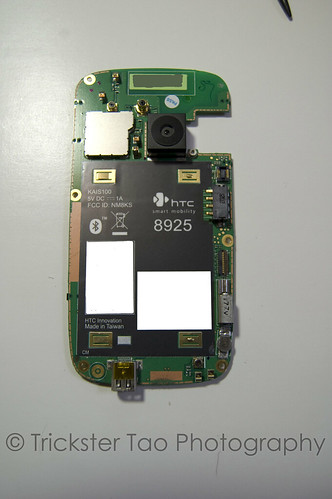
Now that's just the main PCB.
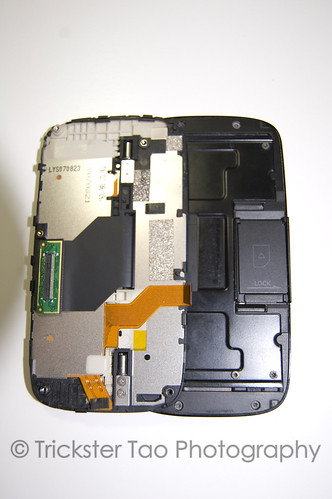
The back of what's left. Keyboard on left, screen on right.
Keyboard up top, screen on the bottom.
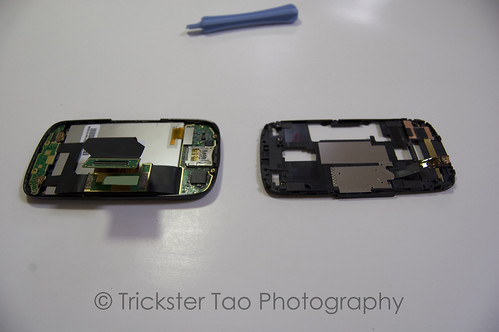
This is just the screen part. The right is where the SIM card is.
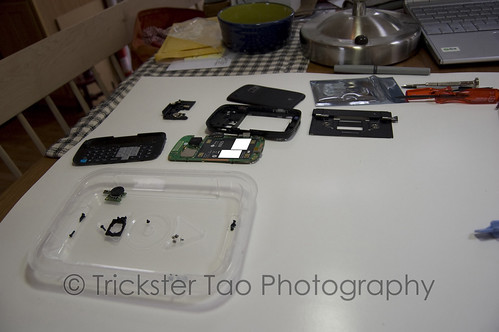
Everything so far.
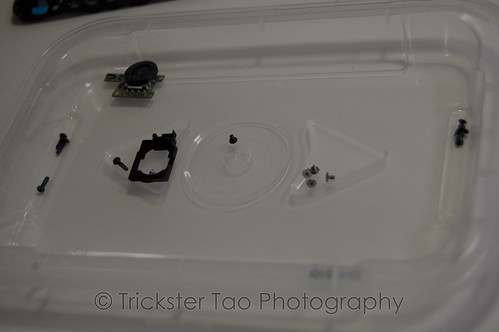
When we finished I ended up with an extra screw. I doubled back to find out where it came from.

Just the larger items. No, that's not a cassette on the right. It's the spring that puts the tension on the keyboard.

That hole in the middle is where the screen was.
My new geek merit badge.
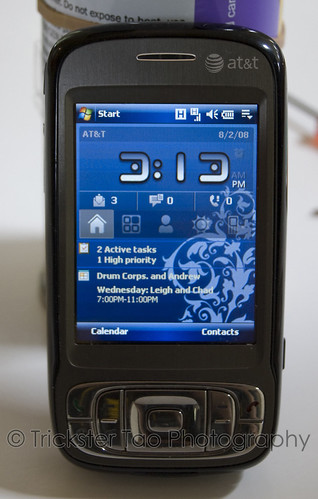
New screen. Yay!
And that's the short version. The longer version has some shouting, a broken tool and a long period where the case wouldn't go back together. The short version is simply "success".
No comments:
Post a Comment